
6 Key Steps to Prefab Design
On building projects, speed of construction is an imperative. Time literally is money, and, all too often, delays can cause a project team to miss budget and schedule targets.
Most tragic, perhaps, is when these delays are avoidable. When determining the design and major building systems being used, it is important to have the right trade partners at the table. When a design incorporates off-site manufacturing, like precast or a single-source building enclosure, up-front planning is critical to the construction timeline. By engaging a prefabricator in a design-assist capacity – even as early as conceptual design – architects can identify and mitigate potential stumbling blocks long before getting tripped up down the road.
Early involvement saves money. A small tweak to a structure’s structural or aesthetic design can reap huge benefits, and a prefabricator’s preconstruction and engineering team can help guide design decisions with an eye for efficiency and value engineering. Evaluating cost-saving alternatives at project onset will ensure the design is compatible with manufacturing equipment and methodologies.
Typically, the design-assist process follows a similar progression, with a central theme of collaboration and transparency. During this phase, the prefabricator and design team can work through issues long before molehills become mountains.
STEP 1: Schematic Design
In the architectural world, no two projects are alike. An architect might begin a project considering prefabricated building systems as one of several building options, or it may not be under consideration at all.
Ideally, the prefabricator is brought in during the early stages of scope development and design to gain an understanding of the architect’s overall design intent. At that time, the design concept is presented, identifying items such as the type of facility, its functional aspects and the desired aesthetics.
This is typically done as an in-person meeting with the design team and the prefabricator’s preconstruction and engineer leads, during which the prefabricator shares their design and manufacturing capabilities that support the overall vision of the project.
STEP 2: Making the Go or No-Go Decision
Starting the project early allows for any critical issues to be identified long before money has been spent. At this stage, the prefabricator and architect resolve aspects of the design that are incongruous with precast. Potential stumbling blocks might include logistical concerns, production capabilities or facility limitations. If they can determine a workable solution, the team moves on to the next stage.
STEP 3: Design Development
The prefabricator will then provide its manufacturing parameters and guidelines for design, such as allowable dimensions, maximum panel openings, etc. During this stage, the preconstruction team will work with the design team to help them understand finish options and the best way to achieve their desired aesthetic. Depending upon the project scope, scale and need, mockups can also be created. Some designers will request a single full-size mockup, while others might require as many as three mockups, poured and finished over multiple days so that they can see a range of colors and finishes. For any project looking to achieve the top level of architectural standards, and pursuing PCI AA certification, mock-ups are a required part of the process.
The architect then formalizes the project design utilizing the provided specifications and parameters, sharing them with the prefabricator. Note: The MEP trades are frequently invited into the conversation at this stage, as prefabricators must often accommodate mechanical and electrical components into the structure and facade design.
Once a notice to proceed is issued, it is followed by a period of collaboration between the prefabricator and design team. During this stage, there’s a great deal of consultation with engineering and manufacturing, making tweaks to the design to maximize efficiency and consistency in terms of product quality. Advance coordination streamlines the manufacturing process, reducing stress on all parties involved.

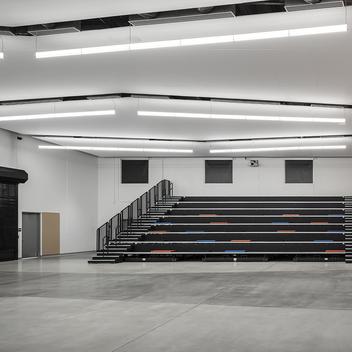
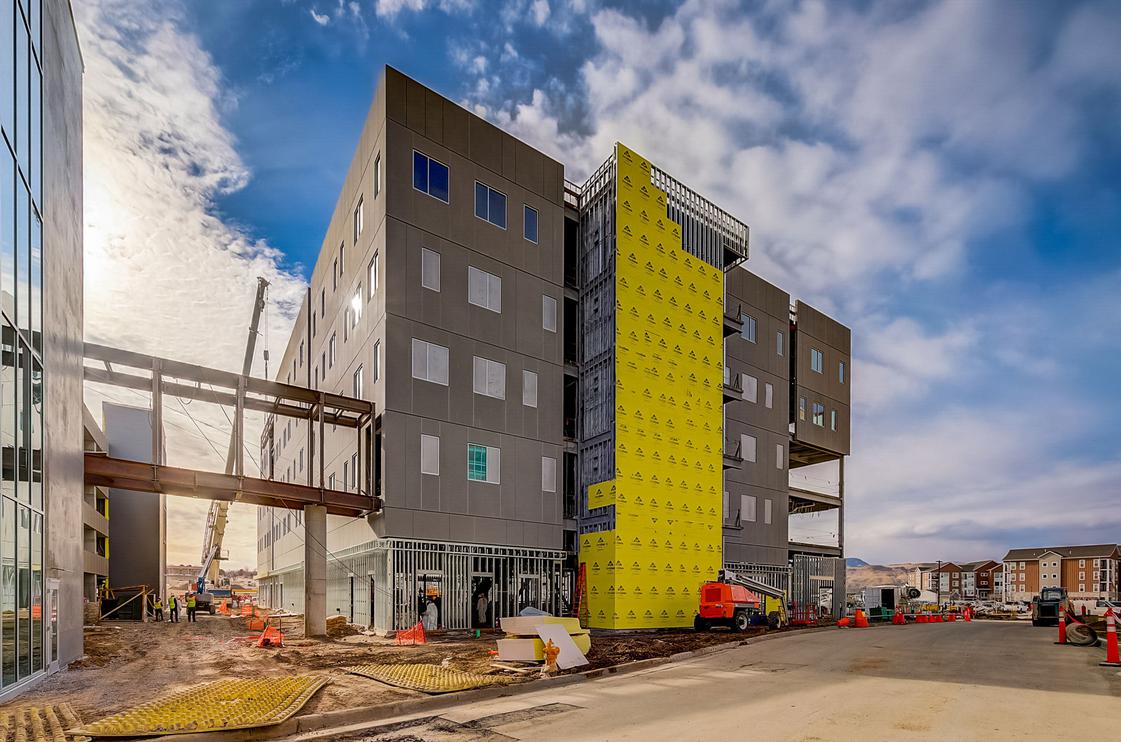
Above: Total precast parking structure under office building created through design-assist.
STEP 4: Finalizing Drawings and Construction Documents
At this stage, the prefabricator’s architectural drafting team gets involved, referencing the project specifications to develop the final design and shop drawings, for delivery to the off-site facility to inform the manufacturing schedule. At this point, an in-house manufacturing facility engineer will review the documents and work with operations to support the project development throughout the manufacturing process.
STEP 5: Manufacturing
During manufacturing, there is minimal need for communication between the design team and prefabricator unless there is a major change in scope. However, the owner, architect or construction manager may visit the facility to observe the manufacturing process. The precaster will follow or exceed PCI certification requirements that stress attention to detail to ensure quality in the final deliverable. Once the framework, prestressing, pouring and curing, the building solutions will receive final finish treatments. They are then tagged and stored off-site to await just-in-time delivery to the job site.

STEP 6: Implementation
Once the project is ready for erection, the prefabricator’s operations, project management and field team will navigate local regulations and determine optimal logistics for getting the building solutions to the site. A full-service prefabricator will offer erection and sealants services. They will work with the GC to make sure expectations are being met throughout the erection process. Prefabrication can often be installed up to 50% faster than other building systems, allowing additional trades to gain access to the site sooner, further expediting projects. Wells has a dedicated sealants and restoration team that follows the erection; caulking, waterproofing and firestopping to finalize the superstructure for internal build-out.


The Importance of the 6 Steps
Given the shrinking project lead times and unparalleled level of control afforded by design-assist, its popularity is understandably increasing, as an approach to design and construction. Using an off-site manufacturing method can provide many different levels of efficiency to the project construction process if key collaboration milestones are met. To make this the best experience, getting your prefabricator on board early and following the steps above is critical to achieving project goals.
Our Design-Assist Success Stories


Starting your next project and deciding if prefab is the right building solution?